
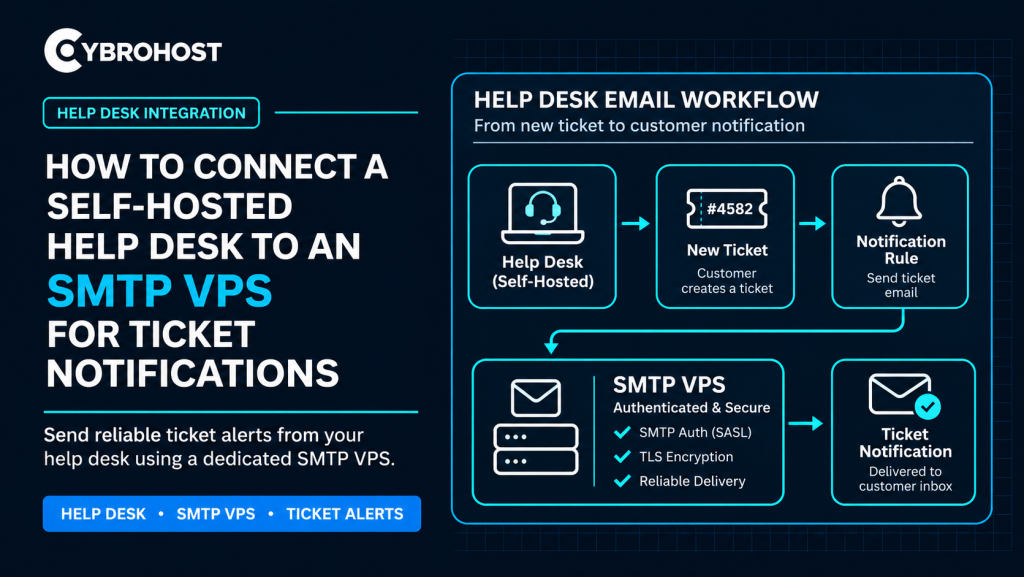
Reliable help desk SMTP notifications keep customers informed when tickets open, receive replies, or change status. A self-hosted help desk can send these messages through a separate SMTP VPS instead of relying on its web server’s PHP mail function. Here is a practical setup using osTicket as an example.
Why Connect Your Help Desk to an SMTP VPS?
A dedicated SMTP service gives you control over authentication, mail queues, logs, and sending limits. It also helps isolate support email from marketing traffic. However, managing the VPS means you must maintain security, DNS records, and sender reputation.
Step 1: Prepare Your SMTP VPS
Install a supported Linux release and a maintained mail transfer agent, such as Postfix. Configure a hostname like mail.example.com with matching forward DNS and PTR/rDNS. Enable authenticated submission on port 587 with STARTTLS or 465 with implicit TLS.
CybroHost SMTP VPS Hosting provides Linux root access, port 25 availability, and PTR/rDNS control. Outbound port 25 matters for direct server-to-server delivery, not the help desk’s authenticated connection.
Step 2: Create a Dedicated SMTP Account
Create a login such as helpdesk-smtp with a unique, strong password. Set an approved sender address, such as support@example.com, and store the credentials securely. Never allow unauthenticated relaying.
Next, publish SPF and enable DKIM signing. Add DMARC, then verify that the sending domain aligns with SPF or DKIM. Use the same recognizable support address in ticket notifications.
Step 3: Connect osTicket to the SMTP VPS
In osTicket, open Admin Panel → Emails → Emails → Add New Email. Create the support address, then open its Outgoing (SMTP) tab. Enable sending and enter these settings:
- Host:
mail.example.com - Port:
587with STARTTLS - Authentication: The dedicated SMTP username and password
- Sender:
support@example.com
Save the account. Then go to Emails → Settings and select it as the default outgoing email. The official osTicket email configuration guide also explains department-specific sending addresses.
Step 4: Enable Ticket Alerts and Templates
Under Settings → Tickets, configure Autoresponder messages for customers and Alerts and Notices for agents. Enable only the events you need, such as new tickets, replies, or assignments. Review subject lines and templates to avoid exposing private ticket details.
Step 5: Configure Incoming Mail Separately
SMTP sends notifications; it does not collect customer replies. If you want email replies to update tickets, configure a support mailbox through IMAP or another supported inbound method. Enable fetching and schedule the required polling process. Test replies for duplicates and unwanted email loops.
Step 6: Test Delivery and Monitor Failures
Create a test ticket, reply as an agent, and check notifications in different inboxes. Inspect message headers, spam placement, and mail logs. Monitor queue age, SMTP authentication errors, and bounces. Set alerts for delivery failures, then back up both the help desk and mail configuration.
FAQs
Must the help desk and SMTP server share one VPS?
No. The help desk can run on one server and submit authenticated email to another.
Should the help desk connect on port 25?
No. Use port 587 or 465 for authenticated submission. Port 25 is primarily for mail-server delivery.
Why are ticket alerts missing when SMTP works?
Check autoresponder rules, alert settings, the default outgoing address, and mail logs before changing server settings.
Final Recommendation
Use a dedicated SMTP identity, secure submission, and aligned domain authentication. Test customer and agent notifications separately, then monitor delivery continuously.
