
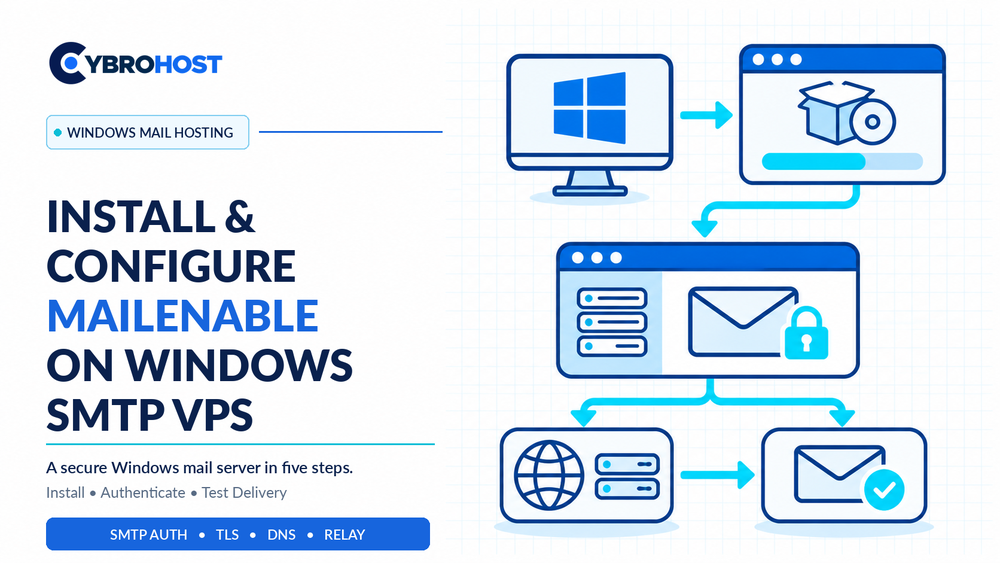
To install MailEnable on a Windows SMTP VPS, you need a supported Windows Server, a domain, and correctly configured SMTP access. MailEnable provides a graphical way to manage mailboxes, sending rules, and delivery logs. This guide covers the installation, DNS records, security, and testing required before production email.
MailEnable on a Windows SMTP VPS: Requirements
Start with Windows Server 2022 or 2025, Administrator/RDP access, and a fixed public IP. MailEnable recommends at least 4 GB RAM; allow extra storage for mail queues and mailboxes. Server Core is not supported. You only need IIS if you plan to use webmail or web administration.
Choose a hostname such as mail.example.com. CybroHost Windows SMTP VPS Hosting offers Administrator access, port 25, and PTR/rDNS controls for self-managed mail servers.
Step 1: Download and Install MailEnable
Connect using RDP, install Windows updates, and download MailEnable Standard from the vendor. Run the installer as Administrator, choose the mail services you require, and select a message-store location with sufficient free space.
The wizard creates an initial post office and postmaster password. Enter your organization name, then configure the SMTP connector with your public mail hostname and working DNS resolvers. Follow the official MailEnable installation guide if a wizard option differs by edition.
Step 2: Add Your Domain and Mailboxes
Open MailEnable Administration → Messaging Manager → Post Offices. Select your post office, open Domains, and add example.com. Under Mailboxes, create an account such as support@example.com with a unique password.
MailEnable authentication commonly uses the format mailbox@postoffice, which may differ from the visible email address. Confirm the correct login name before configuring applications.
Step 3: Configure DNS and Mail Identity
Create an A record for mail.example.com pointing to the VPS IP. Set PTR/rDNS to the same hostname. If you will receive email, publish an MX record pointing to that host.
For outbound delivery, publish SPF, enable MailEnable DKIM signing, and add a DMARC record. Verify authentication with real test messages; publishing records alone does not prove they pass.
Step 4: Secure SMTP Ports and Relaying
In Servers → localhost → Services and Connectors → SMTP → Properties, configure submission on 587 with STARTTLS. Port 465 with implicit TLS is another option when enabled. Install a trusted certificate and allow authentication only over encrypted connections.
In the Relay tab, permit relaying for authenticated senders. Disable relay permissions based only on a local From address, and avoid broad privileged-IP ranges. Use Windows Firewall to allow only the necessary ports. Reserve port 25 for mail-server delivery.
Step 5: Test Sending and Receiving
From PowerShell, confirm the submission port is reachable:
Test-NetConnection mail.example.com -Port 587Send an authenticated message to an external inbox. Check SPF, DKIM, DMARC, and delivery headers. If hosting mailboxes, test inbound mail and secure IMAP access. Review MailEnable’s diagnostic utility, queues, and SMTP logs when delivery fails.
FAQs
Is MailEnable Standard free?
Yes. Standard Edition is free, although advanced features vary across editions.
Does MailEnable need outbound port 25?
Direct delivery to recipient mail servers generally uses port 25. Applications should submit through authenticated port 587 or 465.
Does MailEnable guarantee inbox delivery?
No. DNS authentication, IP reputation, recipient filtering, and responsible sending still matter.
Final Recommendation
Install MailEnable on a supported Windows VPS, secure relay settings, verify DNS authentication, and test delivery before sending business-critical email.
